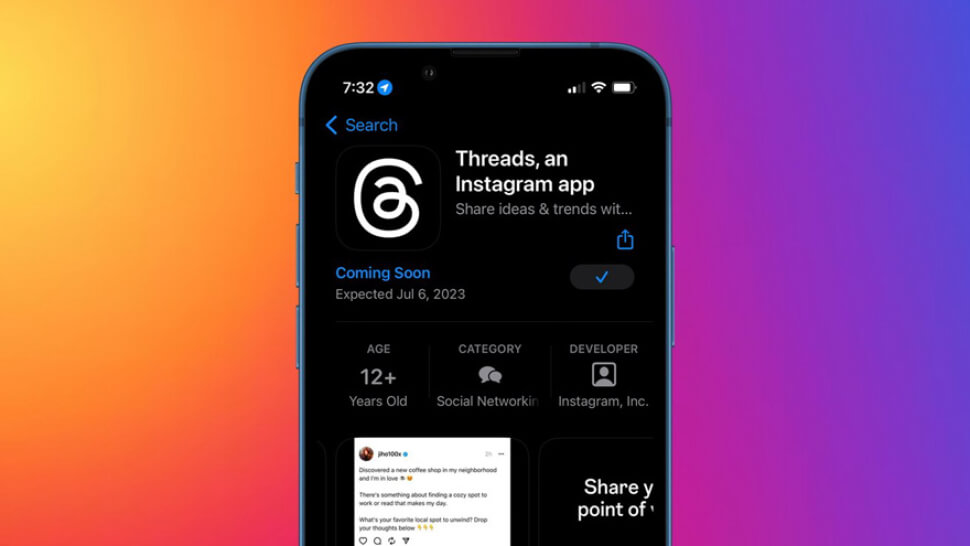
Introducing Threads, Meta’s alternative to Twitter.
On July 6, Meta launched this new standalone app designed specifically for “sharing text updates and participating in public conversations.” It essentially offers the same functionality as Twitter did before its acquisition by owner and CEO Elon Musk, who subsequently made controversial decisions to aggressively promote the paid Twitter Blue subscription.
Developed by the Instagram team and directly linked to your Instagram account, Threads enables users to create posts of up to 500 characters, which may include links, photos, GIFs, and videos up to five minutes long.
Threads is now available for download on iOS and Android devices in over 100 countries. Astonishingly, it amassed a staggering 10 million sign-ups within its initial seven hours. If you wish to join this growing community, here’s a guide on how to sign up.
However, it’s crucial to note that if you decide to create a Threads account and later choose to delete it, Meta will also delete your Instagram account along with it.
How to sign up to Threads
Here’s a step-by-step process on how to sign up for Threads:
- Download the Threads app from the App Store (for iPhone) or Google Play Store ( for Android).
- Once the installation is complete, tap on the Threads icon to open the app.
- At the bottom of the screen, tap on “Sign in with Instagram.” The app will display the Instagram account that is currently signed in on your device.
- If you are not already signed into the Instagram app, tap on “Log in with Instagram” at the bottom, and enter your Instagram account credentials to sign in. After logging in, you will be redirected back to the Threads app.
- If you have multiple Instagram accounts and want to sign in with a different one, tap on “Switch accounts” at the bottom. From there, select the desired Instagram account. If you don’t see the account you want to use, tap on “Log in to another Instagram account” and enter the login details for that account.
- Once you have successfully signed in with your Instagram account, you can perform the following actions:
– To upload a profile picture and choose the upload method, tap on the profile picture icon next to your name.
– To write a bio for your profile, tap on “Bio.” You can either enter your bio manually or import it from your Instagram account by tapping on “Import bio from Instagram” at the bottom. Once done, tap on “Done” in the top right corner.
– To add links to your profile, tap on “Link.” Enter the URL and title for your link, or import a link from your Instagram account by tapping on “Import link from Instagram” at the bottom. Tap on “Done” in the top right corner to save the changes.
-To discover profiles you might be interested in following, tap on “Following.” You will see a list of suggested profiles. Tap on “Follow” next to a profile to start following it.
– If you want to import all the above information from your Instagram profile, tap on “Import from Instagram” at the bottom. - After making the necessary adjustments, tap on “Continue” at the bottom of the screen.
- At the top, select whether you want to have a public or private profile. Once you have made your selection, tap on “Continue” at the bottom.
- Review the terms and policies presented to you, and when you are ready, tap on “Create profile” at the bottom to finalize the process.